12.06.2012

Echo Park {Baby} Tags

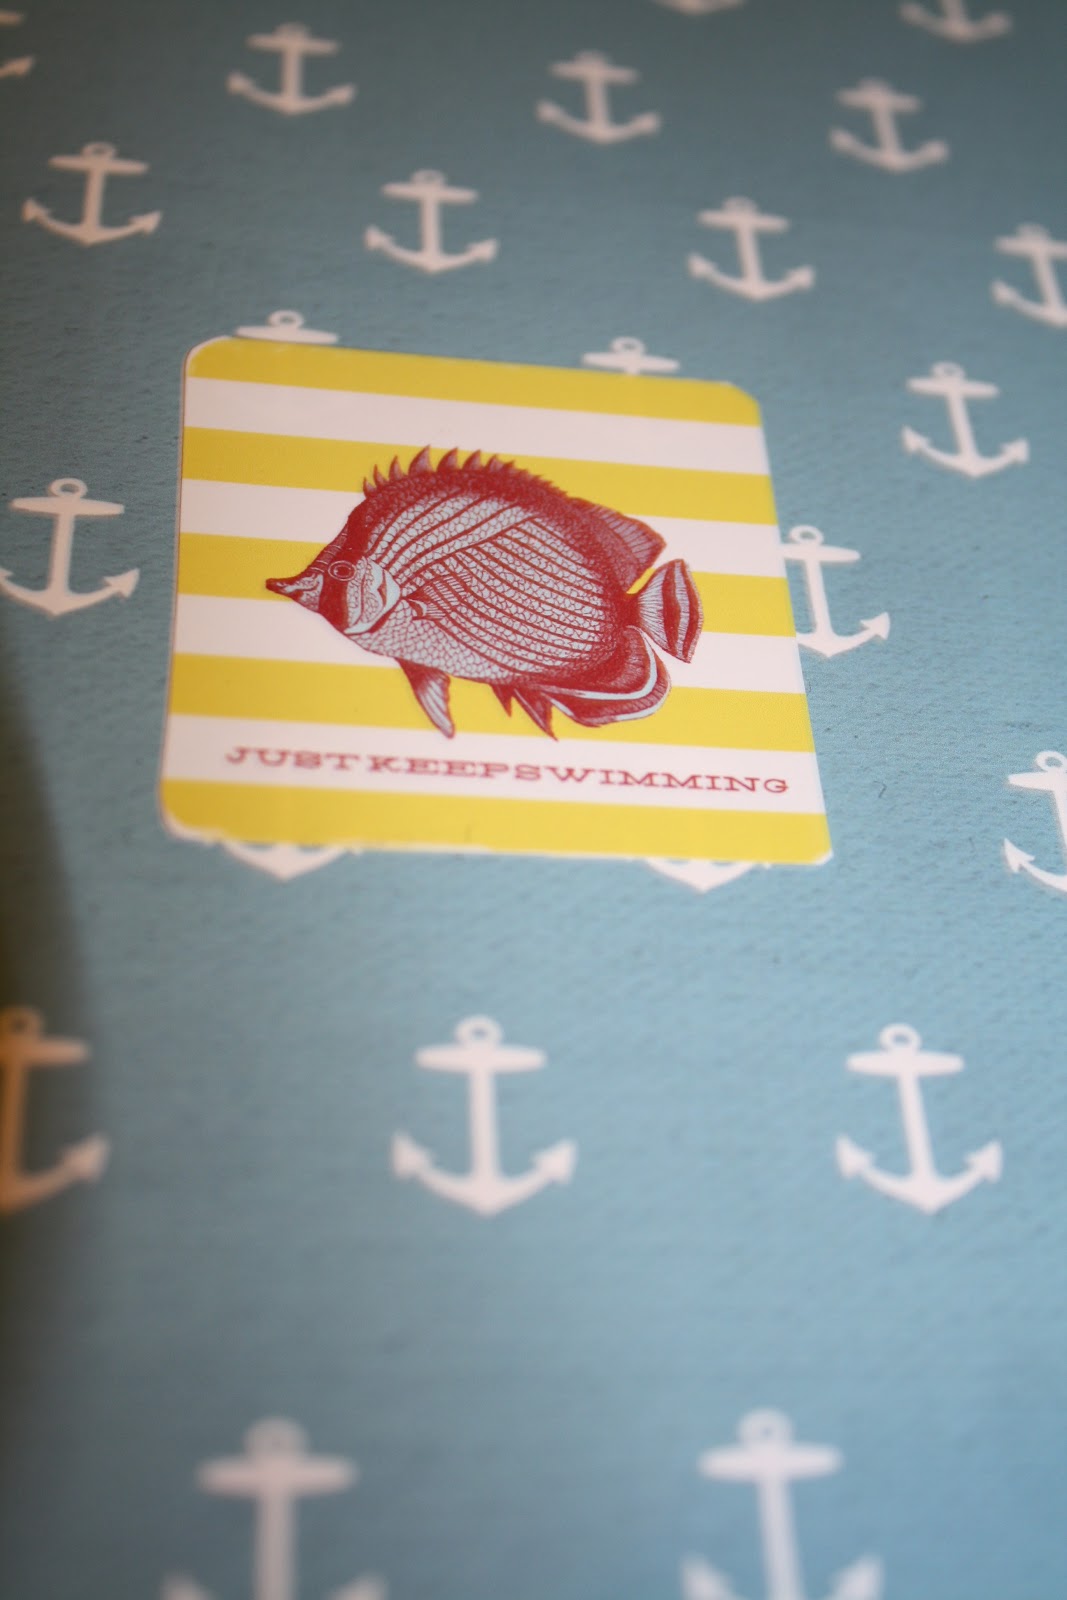
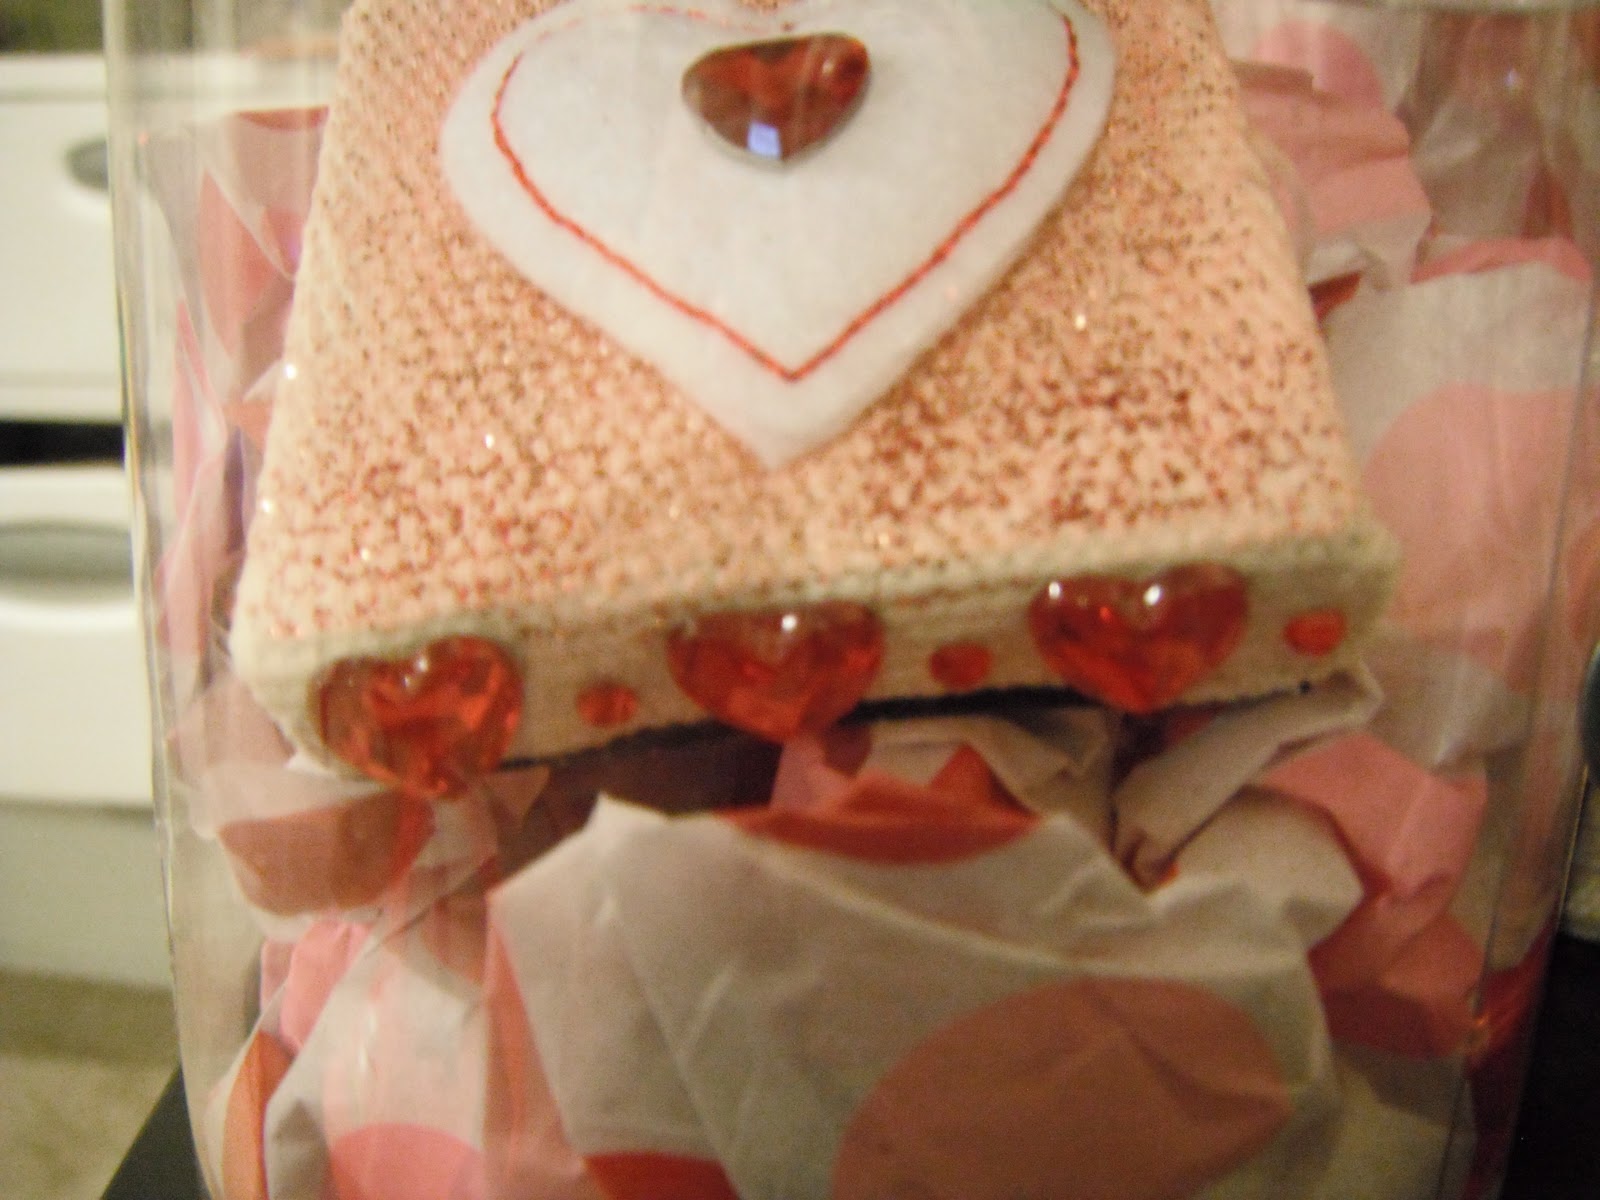
I've been really busy creating lately. Thought I would help out with this cause over at Echo Park paper. I don't have physical product for them, but I do have a ton of digital stuff. So I went hybrid for these. Made some tags via photoshop (trying 11 at the moment and totally liking it!). And here's some of the ones I came up with!


I used the following lines: Tag 1 - This and That Graceful Tag 2 -  Dots and Stripes: Candy Shoppe Tag 3 - Pride and Joy Tag 4 - This and That Charming. All kits found at JessicaSpraque

11.27.2012

Rhonna Designs: Merry Christmas Gift {Tag} Contest

Rhonna Designs is holding a contest to create Christmas tags using her new and last year's digital Christmas line. I thought I would make one and turned into a few. Here's what I came up with:


Feel free to join in. You just need to post to her blog and to this pinterest board to enter. She has more detailed instructions.


9.03.2012

{Mixed} Media: Help?

I'm in need of some help. I've really wanted to get something made that is mixed media, but I need resources. Searching the internet helps a little, but I was wondering if my crafty friends can point me to places that have helped them. Any suggestions? Let me know!!

8.22.2012

{Farmers} Market


A little something I came up with for a church activity. I found the vegetables here


6.19.2012

Phonto: a tutorial {PC/Windows Version}

**NOTE:I had a little issue with this today. If you install more than 30 fonts (yes, I have 100's to choose from), it may cause the app to crash. I had a chat with the developer and this was his advice. Keep it under 30, people, or you might run into some issues! Good luck!

 You will follow the same basics steps as the MAC version only your font directory will be in a different location.

*Windows 7 version:
1. Open iTunes. Connect iPhone for faster transfer of files.

2. Click on iPhone device (i.e. Mine is Lindzie Head).

3. Click on Apps section. Scroll down to File Sharing. Double Click on Phonto.

4. Click Add... button

5. Locate File directory for your Fonts on your computer.
Windows 7 refers to it as Font Manager
Start > Control Panel > Fonts 
or
C:\Windows\Fonts

** If any of you need a different version of Windows, let me know. I'll see what I can find for you**  

6. Click on the font you want to add and Viola!
Font of choice can now be used.

7. Sync iPhone to ensure changes.

Will get some screen shots up soon.

6.13.2012

(UPDATED) Phonto: A tutorial {MAC version}

**NOTE:I had a little issue with this today. If you install more than 30 fonts (yes, I have 100's to choose from), it may cause the app to crash. I had a chat with the developer and this was his advice. Keep it under 30, people, or you might run into some issues! Good luck!
I've been using some pretty cool apps on my iPhone. One that was recommended to me was Phonto. Phonto allows you to add text to pictures and even create a blank template (a .99 cents add-on). They recently released a new update that allows you to install your own fonts - OTF or TTF file types. So cool as I have hundreds of fonts that I have purchased from scrapnfonts.com, rhonnadesigns.com, houseof3.com (no longer available), and various free sites - dafont.com, losttype.com, fontsquirrel.com to name a few.

I thought I'd make a quick tutorial on how to get those fonts on your iPhone. Here it goes:

*MAC version:
1. Open iTunes. Connect iPhone for faster transfer of files.

2. Click on iPhone device.

3. Click on Apps section. Scroll down to File Sharing. Double Click on Phonto.
Click on apps section. Scroll to File Sharing
Double Click Phonto


4. Click Add... button

5. Locate File directory for your Fonts on your computer.
[Your Home User Directory] (in my case Lindz) --> Library --> Fonts
Font Directory location
6. Click on the font you want to add and Viola! Font of choice can now be used.
Font has been added
7. Sync iPhone to ensure changes.

Enjoy and I will try to get a version up for a PC soon. 

6.12.2012

Fathers are so {special}

A little card I put together via PSE. Used some elements from Stampin! Up and Miistina at Sugarhill Co.

6.03.2012

Come Sail Away

I apologize that some of these pictures aren't the greatest, but I was so excited to get to create something with Rhonna Designs new line Nautical Chic that I couldn't want to take decent pictures tomorrow!

I'm co-teaching with Amber over at Stampin Crazed for a journal/family traditions class for our church. I decided to use a compositional notebook and make it my own. I used this to create my buttons on the front and this of the sayings on the front, inside cover, and back inside cover. I really like these colors and how the whole came together! I decided to use a red duck tape sheet to cover the black binding. Hope you enjoy!

 Front Cover - thicker letters
 Buttons and quote art


 Inside Front Cover - "Look at all the beauty in your life. Be happy"
 Inside Back Cover - Just Keep Swimming
 Back outside cover


 Lined pages with printable kit

Lined pages - I'm not afraid of storms for I'm learning to sail my ship

6.02.2012

For the birds

My neighbor (shout out to Audrey!) made a cute game involving fish, numbers and searching for her son. It's a great rainy day activity so I thought I would wipe the dust off my Silhouette Cameo and make a game of my own. I couldn't find a decent fish shape for the Silhouette (as I'm sure they are out there) so I opted for a bird shape I already owned. I cut the numbers out on different brightly colored paper (of my daughter's choosing) and print and cut the names of the numbers onto the shape. I figured I might as well laminate them too. :) My tools have been gathering dust in the basement! I thought this little project turned out pretty good. Enjoy!

If you don't own a silhouette, I found this free template:
FISH
You could print this template out on colored cardstock/heavy weight paper and write the numbers on them. Same idea and quick!

5.04.2012

366 {photo} a day challenge - March/April 2012

These are just my layouts. I used Rhonna Farrer's Spring Circus for April. It felt like a good fit for the layout. I'm behind on getting the pictures in, but I've been a little preoccupied.For March, I kept it simple. The brushes are from Just Jaimee over at Sugar Hill Co.
Template from Gennifer Bursett over at Design House Digital


3.03.2012

366 {photo} a day challenge - Febuary 2012

Only a few days late...but here's what I came up with using Gennifer Bursett's 366 template:


2.08.2012

366 {photo} a day challenge

I wanted to use this kit I found over Design House Digital (by the way if you haven't check out this site, they have great digital stuff!). It was designed by Gennifer Bursett. I liked the simplicity of the kit. I liked how you could add anything you wanted to it. You can choose from a quickpage album or a do-it-yourself album. :) She has some awesome stuff.

Also, I had to buy this.

Here's what I've got for January:


February {iPhone} wallpapers

Thought I would try my hand at making some wallpapers for my iPhone. I thought they turned out pretty good for my first attempts at making a pattern in Photoshop.

PS I haven't fallen off the face of the earth. I'm just trying to find time to get a few creative things while wrestling with a new sschedule, new baby, and a very busy almost 3 year old.

Supplies: Stampin' Up Buttons, Gennifer Bursett 366 doodles

1.26.2012

Be my {valentine}

WARNING: If you are my visiting teachee, you have been warned this might be a peek at your gift for February. :)

I had some great ideas when I saw these mini paint cans at Target. I also found 2x2 canvas on clearance at Micheals. I also found these awesome puffy stickers there as well. Heidi Swapp made these fabulous pom poms. So all combined, here's what I came up with. I made magnets out of the pom poms and the mini canvases.